Fourth Grade Morning Tubs for August

Students and teachers alike are so excited to use morning tubs in 4th grade.

Morning tubs have been used successfully for many years in the lower grades as a way for students to practice necessary skills.

Teachers are discovering that morning tubs don't have to be exclusive to kindergarten.  They are a great addition to upper grades, as well!

Even your most reluctant students will love using these activities to practice fourth grade skills in math, language arts, critical thinking, and fine motor.

These are so versatile and can find a place in your classroom for morning work upon arrival to school, centers, and as activities for early finishers.

If you are looking for a new way to add some fun and play to your day and an alternative to worksheet
practice, these morning tubs might just be right for you. 

See the pictures below for all activities included in the 4th Grade August Morning Tubs.

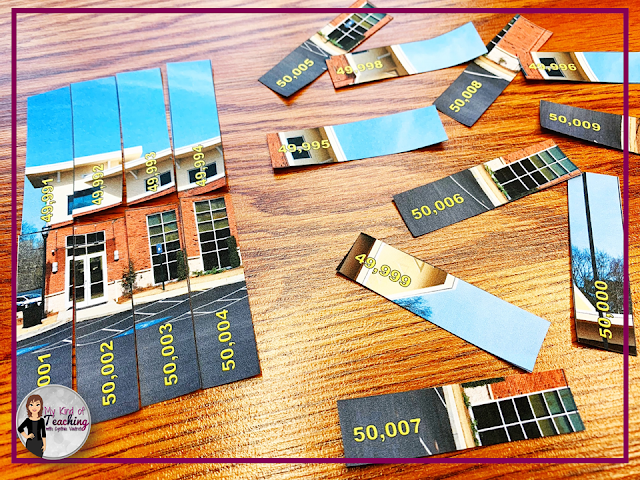
Skip-counting up to 100,000


Skip Counting Puzzles to 100,000

True or False Number Comparison
True or False Comparisons


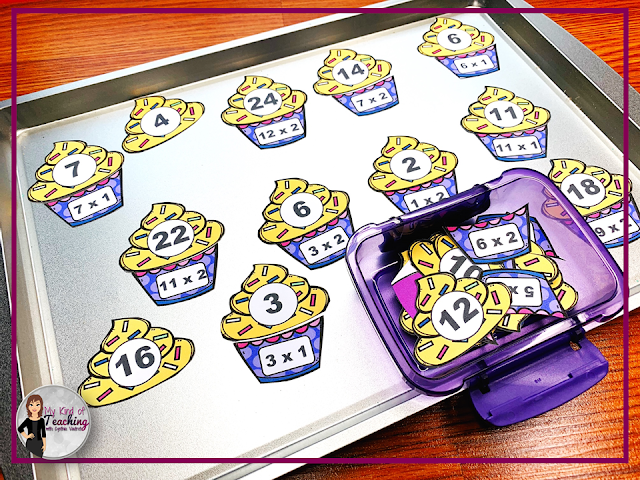
Multiplication FactsMultiplication Facts


Place Value
Place Value


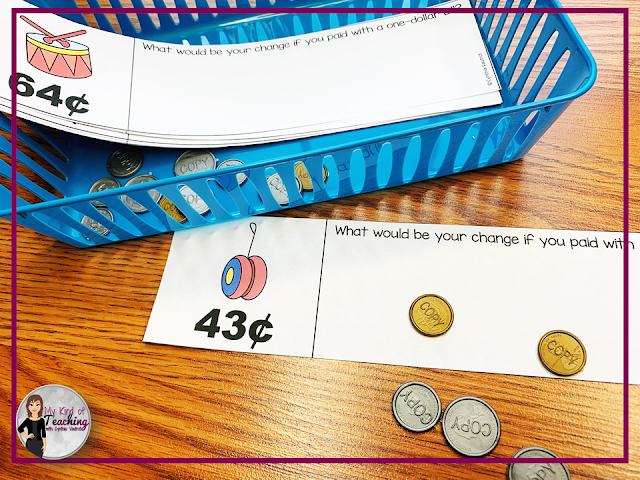
Counting back change for money
Money


Elapsed Time
Elapsed Time


Measurement Estimation


Graphing

Graphing

Sight Words Game
Sight Words


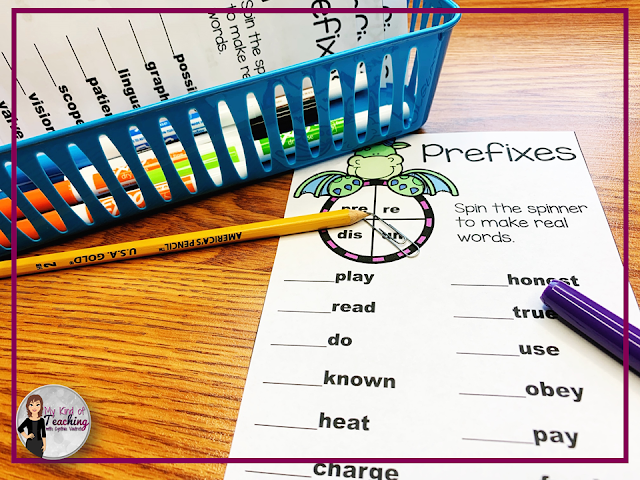
Prefixes

Prefixes


Narrative Writing

Narrative Writing


Alphabetical Order

Alphabetical Order


Noun Sort

Nouns


Sentences and Sentence Fragments

Sentences & Sentence Fragments


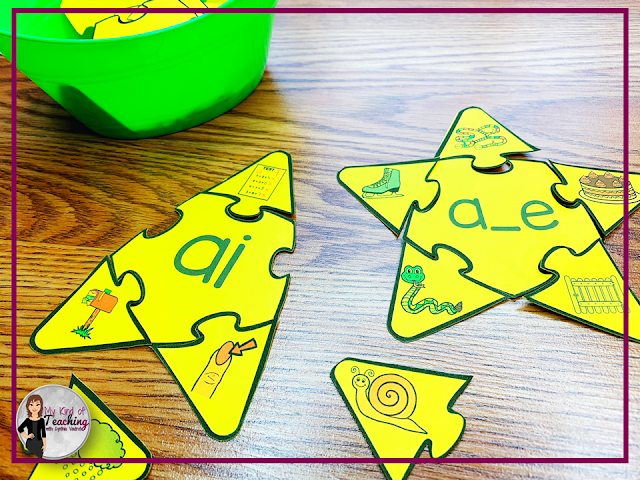
Long Vowel Puzzles

Long Vowels


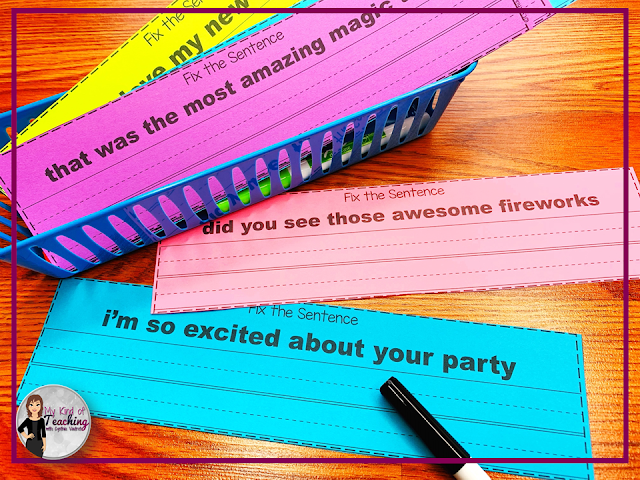
Fix the Sentences

Fix the Sentences


Prepositions

Prepositions

Fine motor mazes
Fine Motor Mazes


Follow Directions Shapes
Fine Motor Shapes

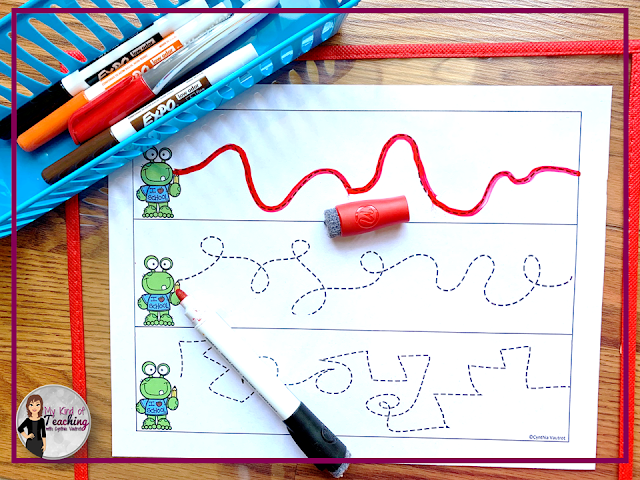
Fine motor tracing
Fine Motor Tracing

Critical Thinking
Critical Thinking

Critical Thinking
Critical Thinking

If you are interested in adding these engaging, hands-on activities to

Grab these morning tubs for free!

2nd grade morning tubs


Keeping learning fun, that's just...

My Kind of Teaching

Time Management Tips for Teachers: Simple and Easy Monthly Menu Planning


You've worked hard All. Day. Long.

You arrive home, and the first words out of your family's mouths is, "What's for dinner?"

There are no high fives for an awesome day.  

There is no sympathy or concern about the rough day you experienced.

There is no talking through it.

No, you've come home to a hungry crowd, and they are demanding to be fed.

Wouldn't you love to change all of the above?

The answer is so easy and simple.  

Monthly menu planning will help with time management in your life.

You'll even find that you have time for some rest and relaxation each afternoon.

Best of all is that your family will be invested and involved with this plan, taking some of the responsibility off of your shoulders!

Easy Menu Planning


Steps for Easy Menu Planning

Step 1: Make a list.

What are your go-to meals?  What about elaborate meals?  What are your all-time favorite meals?

Brainstorm a list of these meals.  I like to use this FREE form to make a master list.  

Step 2: Plan meals around the ingredients you have.

By planning meals around the items in your pantry, refrigerator, and freezer and the list of items you plan to purchase, you will save time during the month by not making multiple trips to the grocery store.


Step 3: Include your family.

Including your family once a month for menu planning is a great learning activity for your kids and keeps everyone involved and invested.  Have your family help fill out the "Master List of Menus" you downloaded above.  Make sure that each family member has his or her favorite dishes and meals included each month.


Step 4: Plan out Your month on a calendar.

I like to plan my month in PENCIL.  Inevitably, something happens to change at least one night during the month.  Think about these things before listing your meals:

  • Is there a set night of the week for church, sports, meetings, etc.?
  • Is there an activity (conferences, PLC, faculty meetings, kids' soccer practices, piano lessons, etc.) one or two afternoons a week that makes you arrive home later? 
  • Is there a day of the week when you are always super tired?  (Mine is always Monday and Thursday)
  • Do you like cooking a big Sunday meal?
  • Do you have the same meal one night a week (ex: taco Tuesday or pizza Friday)?


Keep these answers in mind as you pencil in your monthly menus.  My personal plan always includes:
  • one or two "easy" nights each week
  • a night for someone else to cook (Remember, even younger children can put a loaf of bread, cold cuts, chips, and plates on the table.)
  • a leftover night (Keep younger children busy while you rest by letting them make menus of the foods available.)

Refer to #3 above, and include your family.  Let each family member choose his or her favorite meal, and pencil it in on a night that will work best.  

Complete the entire month, and hang the calendar on the fridge so that all family members have access.

(Don't forget to save this pin to your favorite Pinterest board so that you can refer to this post as needed.)

Simple and easy menu planning for tired teachers


Step 5: What's for Dinner?

Each night of the week, quickly check your menu for the next evening's planned meal.  Prep ingredients, or remove items from the freezer that need to thaw in the refrigerator overnight.  Set out the crockpot if you need to add items the next morning before heading to school.  

You will no longer have to start thinking about your "second job" of cooking dinner every night.  You can now come home to rest and relax for a bit because you have a plan in place for the evening's meal.

Best of all, when your family asks, "What's for dinner?" Just point to the refrigerator while laying on the couch without opening your eyes or saying a word.  

Sign up for e-mail!


Helping you with a plan and some rest time after a long day of work, that's just...

My Kind of Teaching


Classroom Management Tools: Using a Calendar to Maximize Time Management in Your Classroom

Using a calendar to help with time management can be elaborate or simple, expensive or frugal, and anywhere in between.  The important thing is to use one that works best for you.


RELATED:  Editable Calendars and Newsletters


The main purpose of using a calendar in your classroom is to make your life easier.  Planning out your week, month, and year is one of the easiest ways to keep everything running like a well-oiled machine and help with time management in the classroom.


Simply put, a calendar is one of the most efficient classroom management tools at your disposal. 


Use these ideas to master your calendar and manage your time for maximum results throughout the year.


1. Map out your year. Pencil in the units you will be teaching this year using your district curriculum map so that you know what you will be teaching and when.  It doesn’t have to be elaborate, but putting it down on the calendar will help you with dates.


RELATED:  No Prep Centers for August


2. Add important dates, such as holidays, parent conference dates, early release days, etc.  During the year, you will be glad to have these details available to you in one central location.  


3. Write recurring events, such as monthly faculty meetings, weekly PLC meetings, changes to your daily routine (i.e., library every other Wednesday @ 10:00, etc.).


4. When you get your class list and student information, add your students birthdays to your calendar.


RELATED:  Morning Tubs Setting the Tone for Success This Year


Now that you have everything that is readily known to you at the beginning of the year in one central location, weekly and monthly planning will be so much easier.  You have a roadmap ready to go.  Knowing where you are going this school year is a huge stepping stone to maximize time management in your classroom.


Grab a freebie to help you with more time savers with these FREE No Prep Centers!


Helping you work smarter and not harder this year is just...

My Kind of Teaching


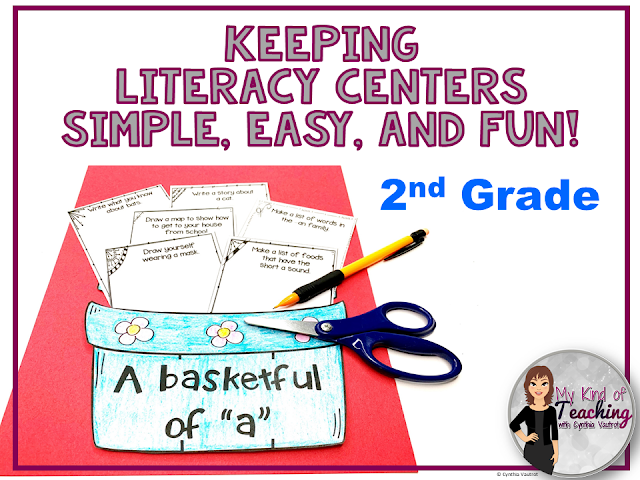
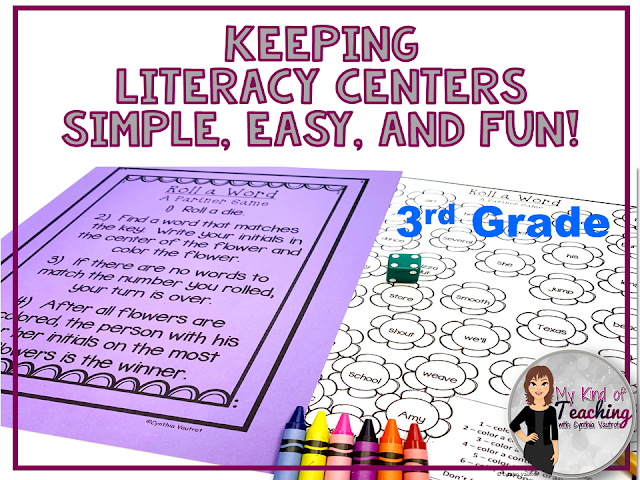
Keeping Literacy Centers Simple, Easy, and Fun!

Literacy centers in the classroom should be simple, easy, and fun!  Using no-prep or low-prep ideas helps with time management, lesson planning, and easy weekly setup.

No Prep literacy centers for 2nd grade


Throughout the years, I have tried a plethora of ideas for my literacy centers.  Some worked okay, and some did not work at all.  Finally, I realized I was overthinking and making center time WAY more complicated than it should be for both myself and the students.  Once I realized that the simplicity of the centers was what made them work, everything else clicked into place.

simple, easy, and fun literacy no prep literacy centers for 3rd grade


Using five weekly centers in your classroom each week makes things easy.  Having a group of 4-5 students in each group rotate through only one center each day keeps it simple for the students.  The no-prep or low-prep activities keep it fun and SUPER easy for you!

no prep 4th grade literacy centers


Five Literacy Centers for All Year

Set up these five literacy centers at the beginning of your school year, and use them all year long!

Center #1: Technology: Use any activity that you have on hand. This can be computers, Chromebooks, iPads, etc. Students can play online games or you can assign a digital activity via Google Classroom to your students for this center.  Using digital task cards or interactive digital  games for practice are great choices.


Center #2: Writing: The activities change in this center weekly, but the supplies remain the same.  Any activity that you want your students to use for a focus on writing can be used. Add a word bank, thesaurus, dictionary, writing tools, paper, etc and give your students a weekly writing prompt. 

You can also use one of the writing activities from my No Prep Literacy Centers units.  Print the center directions on color copy paper to grab the students’ attention and place it in the same place in the center from week to week because students need that routine and dependability of knowing where to find the directions.  Copy the other pages for the activity on regular copy paper to add to the center.  These activities are sometimes longer in length, and students might need two weeks to complete.  On those weeks, do not change out the materials.


Center #3: Reading: It is especially important to give students multiple opportunities throughout the school day to read independently from books of their choice.  For some, school might be the only time they are exposed to books.  During this center, give students comfortable seating choices throughout the room so that they are not in a group and disturbing other students or being disturbed.  Students can have individual book bins that contain books they have chosen to read.  By having their book bins already stocked, students are not constantly moving around the room to visit the classroom library during this time.  Use these Digital Reading Responses for students at some time during the week to add a writing component.


Center #4: Word Work: This center can look vastly different weekly.  I always use an activity from my No Prep Literacy Centers.  Students might be manipulating letters to create words one week, and the next week, they might be playing a word game from the same unit.  Another week, they might complete the monthly “Put It in Order” alphabetical order activity included in each monthly unit. For the last week, they might do a part of speech word sort from the unit.  Adding some of these activities normally used for Morning Tubs can add a lot of fun to your literacy centers as well.  


Center #5: Miscellaneous: This center can include anything related to what you are currently studying in reading or grammar or a review of previous learning. One week students can move around the room on a scavenger hunt, while the next week has students reading an informational passage and answering questions.  This center allows for flexibility and might include task cards,  sightwords, or even an activity from my early finishers unit.  


Using these five simple, easy, and fun literacy centers all year will help you keep your sanity.  The prep time is 15-30 minutes on a Friday afternoon, helping me get out the door and home to my family.

Grab FREE Math and Literacy Centers when you sign up for my emails.


Keeping literacy centers simple, easy, and fun is just...


Five Easy Ways to Use YouTube Videos in Your Classroom (Tip #5 is my favorite!)


Even if you aren't a very "tech-savvy" person, don't let that scare you.  There are so many ways in which you can implement technology into your classroom.  

Using videos from YouTube is an easy way to add the technology factor to your teaching!


There are so many great videos out there on YouTube.  In a busy teacher's life, you don't always have time to preview videos to check that they are safe for students.  However, you can subscribe to your favorite channels to create a playlist so that you can feel confident that these are quality videos.

As always, if you are unsure about where a video originates or if it is not from a channel you trust, preview it before showing it to your students.

(Side note...I am a LIST person.  I love lists...all kinds of lists.  That includes folders on my computer and in my Google Drive. They might or might not be color coded by subjects with files inside of files...)

When I show my students a video I like, it's very simple for me to copy that URL and paste it in a Word document inside a folder for the subject we are learning.

Next year, the work is done.  All of those great videos are simply a click away, already organized by subject and ready to go into my lesson plans! 

Here are five easy ways to use YouTube videos in your classroom.

1. Whole Group

Using an instructional video is a great "hook" to introduce a new topic.  Students can watch a catchy song, a funny story, a read-aloud, and more.  

It's hard for teachers to always be witty and entertaining.  Let the video do it for you!

2. Remediation or Enrichment

Now that you have those URLs saved in an easily accessible place, assign the videos to students via Google Classroom.  (If YouTube videos are blocked for students like they are in my school, first add them to safeshare.tv).

Students who need remediation on a subject will listen and watch the video through their Goggle Classroom accounts (with earphones of course!).  They can watch the video as many times as needed, whether they are at home or at school.  It's also a NO-PREP assignment from you and differentiated to fit individual needs. (I consider that a win-win!)

Similar assignments can be made for early finishers and/or students who need enrichment.  Students who have a firm hold on the concept can watch videos that are more advanced to learn new concepts and ideas.

3. In a Private Facebook Group

Another favorite way of using YouTube videos in my classroom is not really in the classroom.  Instead, I form a private Facebook group for parents at the beginning of each school year.  It's such an efficient way to communicate with parents!  I like to post the instructional videos in the Facebook group so that parents can see what we are learning in the classroom.  I especially like to post videos that show those tricky Common Core math strategies to teach the parents along with the students!

4. Indoor Recess

It happens to everyone at some point in the school year.  You've had all of the indoor recess noise you can handle, and you just can't take ONE. MORE. DAY. of being indoors.  Put on an instructional video for the students to watch.  (My students LOVE the Liberty Kids videos.  Bonus points because these also gave us some quality social studies learning!)  This is an especially great idea if you happen to have a sub on an indoor recess day.

Now, to my last and FAVORITE tip...

5. To Teach an Entire Subject from Beginning to End

WHAT?  Yes, you heard me correctly.  

Sometimes, (okay, honestly almost all of the time), it's just so dang HARD to fit everything into that 50-minute block.  Introduce, instruct, assign practice work (meaningful yet busy), work with small groups, and do a conclusion for the day's lesson. 


I developed lesson plans my students could work on at their own pace for the entire week using videos.  They had instructional videos to introduce the concept, songs to help put an idea in their heads, online games to play for practice and to solidify the concept, stories to listen to, online informational texts to read, writing assignments, and more.

All videos are placed into safeshare.tv so that ads are removed and I know they are safe!


My students LOVED the assignments.  They were engaged.  The work was rigorous.  The learning was taking place in the modality they had been raised with.  


I LOVED this way of learning because I had time to work with individual students and small groups of students to remediate or challenge them.  Lesson planning was simple.  I had more time to focus on other areas in my classroom that needed my attention.


It was a win-win for all of us.  


Now that I'm retired, I can focus on making more of these and sharing this exciting way of learning in the classroom.  (Drop a comment or send an email if there is a particular concept you would like to see in this kind of unit.)

Click here if you would like to see more of these units.


Whether you use my ready-made units or you use videos to assign in Google Classroom for your students to learn at their own pace, you will love gaining the time to work with small groups!


There you have it: five easy ways to start using YouTube videos in your classroom.  (Was #5 your favorite, too?)


Click here to sign up for my weekly email and get this NO PREP Honeybee unit for FREE!


Using technology to make teaching easier, that's just...

My Kind of Teaching!



Skip Counting Puzzles for Hands-on Learning

What is your style of teaching in your classroom?

If it's using hands-on activities, you will love these puzzles!

These skip counting puzzles are such a hit in my Morning Tubs.  I have had so many teachers tell me that their students absolutely love using them!

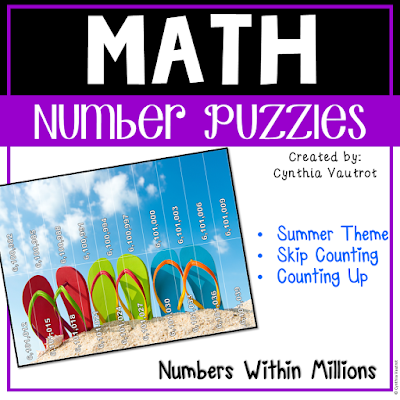
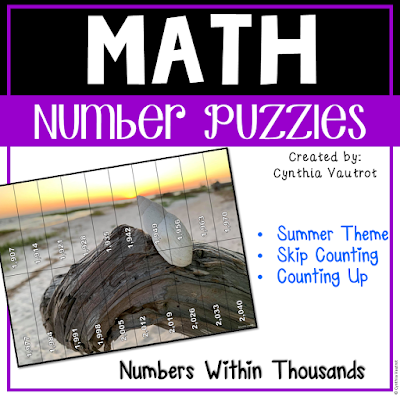
These skip counting puzzles make a great add-on to your morning tubs for anytime of the year.  You can find them with spring and summer themes (and soon in fall and winter themes).

You can try out a couple of FREE puzzles for each level HERE.

Included are twenty beautiful photos.  There are five different levels.


Math number puzzles with summer theme

Math number puzzles with flags

Skip counting within ten thousand

Skip counting within thousands

Skip counting to 1,000


These all include the same pictures, making it easy to differentiate within the classroom.  Using the same pictures allows students to work at their different levels without embarrassment.

Print the pictures on cardstock, laminate, and cut on the lines.  Store them in individual zippered bags, or mix them all together to add rigor.

These puzzles are used with real photos
A few more of the skip puzzles with photos of beach scenes


Skip counting with photos


A favorite activity is to add a small magnet to the back of each strip.  Students can put the puzzles together on small cookie sheets, magnetic boards, the sides of filing cabinets, or any other magnetic surfaces.

These can be printed full page, or they also work great printing two to a page.

This shows the printing recommendations for the puzzles

In fact, you can use this printing trick for any page you would like to print smaller, saving both paper and ink.


Would you like to receive a FREE set of my morning tubs?  Sign up for my Tuesday newsletters via email by clicking here and get this set for free!

Morning tubs for free


Keeping the fun in the classroom with hands-on learning and printing tips for the teacher is just...

My Kind of Teaching!